Transforming Low-Resolution Images into High-Resolution
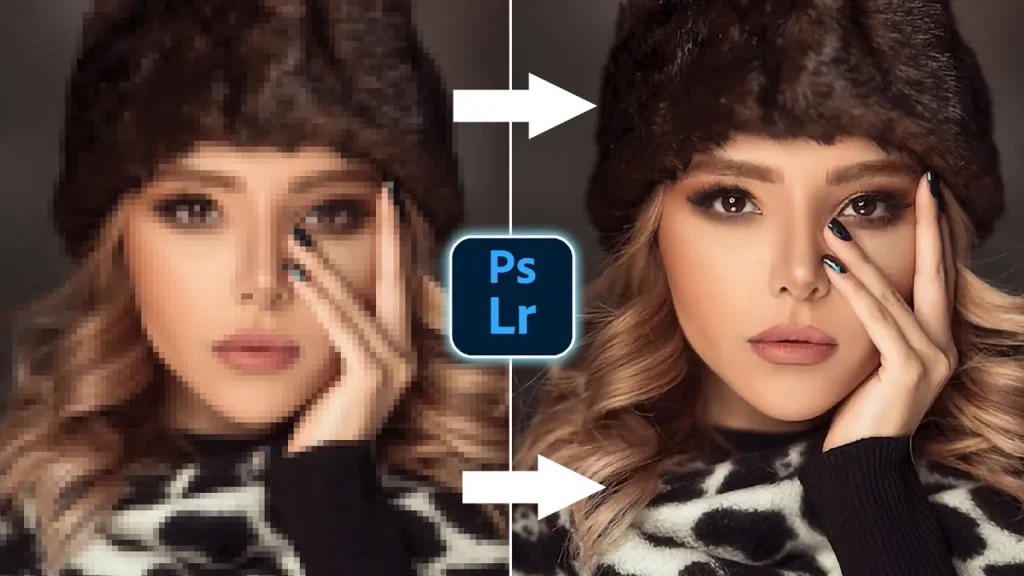
In the age of digital media, we often come across low-resolution images that fail to capture the full potential of their subjects. Whether you’re a professional photographer, a graphic designer, or a hobbyist, the need to enhance the quality of such images may arise. Thankfully, Adobe Photoshop provides powerful tools and techniques to help us breathe new life into these low-resolution visuals. Thanks to Edit Picture Online. They are providing all services of photo editing including clipping path, image masking through this Photoshop. Also, in this comprehensive guide, we will explore step-by-step how to create high-resolution images from low-resolution ones using Photoshop’s advanced capabilities.
Table of Contents
ToggleStep 1: Prepare Your Workspace
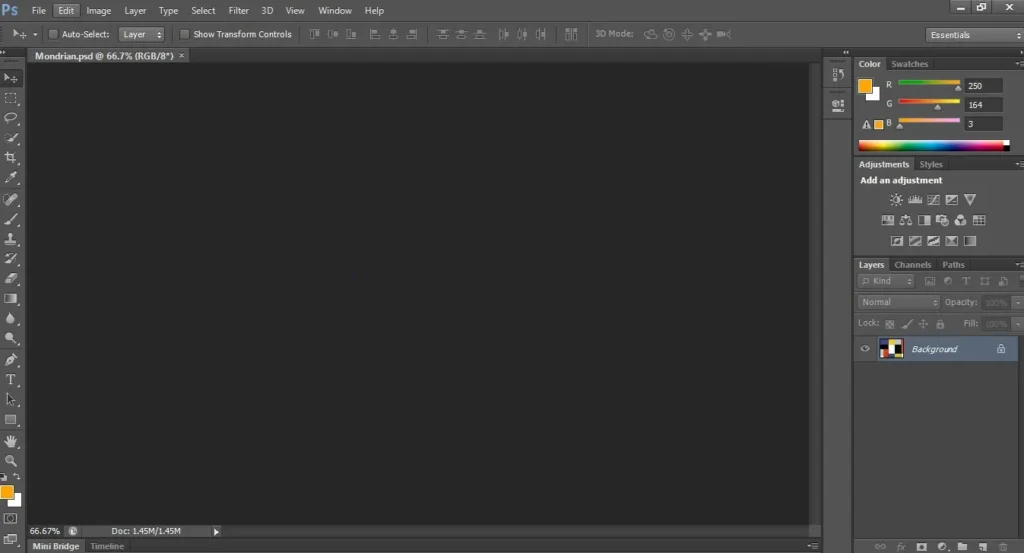
Before diving into the image enhancement process, ensure you have a high-resolution version of the same image or similar references for comparison. Then Open Adobe Photoshop and create a new document with dimensions matching your desired high-resolution output.

Step 2: Import the Low-Resolution Images
Go to “File” and select “Open” to import the low-resolution images into Photoshop. Then it will open in a new tab within the workspace.

Step 3: Image Size Adjustment for Low-Resolution Images
Navigate to the “Image” tab and select “Image Size.” A dialog box will appear, displaying the current dimensions of the image. Here, uncheck the “Resample Image” option to prevent any loss of quality during the resizing process. Increase the resolution value to your desired output, while ensuring the “Constrain Proportions” box remains checked. Click “OK” to apply the changes.

Step 4: Upsampling with Preserve Details 2.0
In the “Image” tab, select “Image Size” once again. This time, check the “Resample Image” box. Then Choose “Preserve Details 2.0” from the “Resample” dropdown menu. Photoshop’s intelligent algorithm will analyze the image content and attempt to add detail during the upsampling process. Then Adjust the “Resample” value to achieve the desired output size. Note that extreme upsampling may lead to diminished quality, so exercise caution.

Step 5: Noise Reduction for Low-Resolution Images
Increasing the resolution of low-resolution images often introduces unwanted noise. To counter this, navigate to the “Filter” tab, select “Noise,” and choose “Reduce Noise.” Play with the sliders, aiming to reduce noise while maintaining image sharpness. Strike a balance between noise reduction and preserving fine details, as excessive noise reduction may result in a loss of important image elements.

Step 6: Sharpening Low-Resolution Images
To enhance the image’s clarity, head to the “Filter” tab and choose “Sharpen” or “Unsharp Mask.” Experiment with the settings, such as amount, radius, and threshold, until you achieve a balanced level of sharpness without introducing artifacts. Also, Be mindful not to over-sharpen, as it can make the image appear unnatural or create halos around edges.

Step 7: Content-Aware Fill
In some cases, upsampling might leave certain areas of the image looking pixelated or blurry. Photoshop’s powerful Content-Aware Fill feature can help rectify this. Select the areas you wish to improve using the selection tools and go to the “Edit” tab. Choose “Content-Aware Fill” from the dropdown menu. Adjust the sampling options to ensure a seamless blending of pixels, and click “OK” to let Photoshop work its magic.

Step 8: Final Touches and Fine-Tuning
Inspect the image closely and make any necessary adjustments to color, contrast, and saturation. Utilize Photoshop’s extensive array of adjustment layers, such as Curves, Levels, and Vibrance, to fine-tune the visual aesthetics. Employing selective editing techniques with layer masks can further refine specific areas of the image.

Elevating Low-Resolution Images to High Resolution By Lightroom
By harnessing the power of Adobe Lightroom, we can transform low-resolution images into high-resolution masterpieces. In this comprehensive guide, we will walk you through the process of leveraging Edit Picture Online’s expertise and Lightroom’s powerful editing capabilities to elevate your low-resolution images to new heights.
Step 1: Access Lightroom
Navigate to the image editing section and upload your low-resolution image to the Lightroom. Take a moment to explore the range of editing tools and features provided by Lightroom as well.
Step 2: Understanding Lightroom’s Potential
Before delving into the process, it’s essential to understand the capabilities of Lightroom and the challenges of increasing image resolution. Lightroom excels in overall image enhancement, but it doesn’t possess native upscaling features like Photoshop. However, with Edit Picture Online’s expertise, we can still utilize Lightroom to enhance various aspects of our low-resolution images and achieve remarkable results.
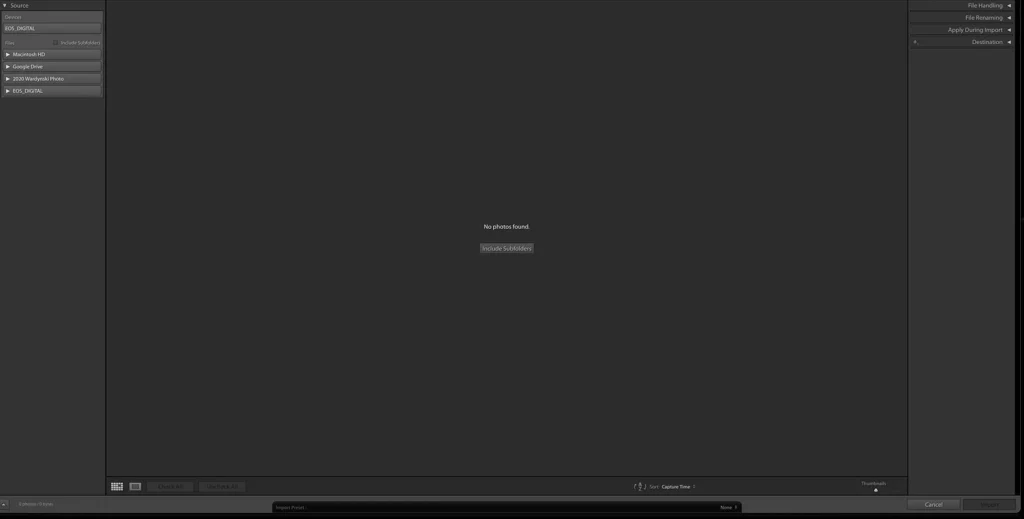
Step 3: Importing the Low-Resolution Image into Lightroom
Within Edit Picture Online’s platform, select the option to open the low-resolution image in Adobe Lightroom. This will seamlessly transfer the image to Lightroom’s interface while maintaining the connection to Edit Picture Online’s editing environment.

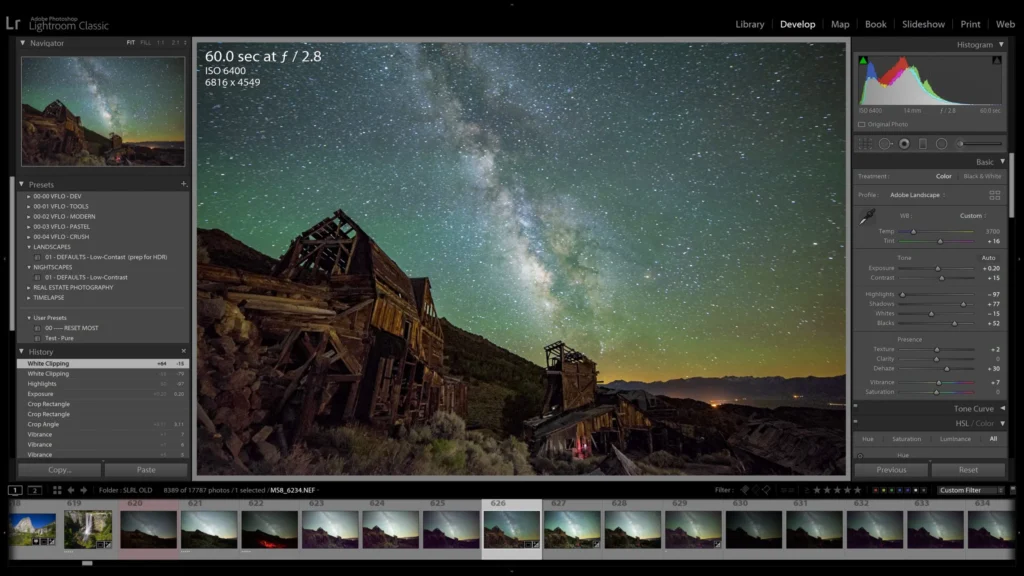
Step 4: Leveraging Lightroom’s Develop Module for Low-Resolution Images
In Lightroom’s Develop module, begin by adjusting the basic image settings to optimize overall quality. Fine-tune exposure, contrast, highlights, shadows, whites, and blacks to enhance the image’s tonal range and achieve the desired look and feel.

Step 5: Utilizing Sharpening Techniques Apply Low-Resolution Images
To enhance the perceived resolution of the low-resolution images, focus on targeted sharpening techniques. In Lightroom’s Detail panel, adjust the Sharpening and Noise Reduction sliders to enhance image clarity while minimizing unwanted artifacts. Strive for a balance that enhances details without introducing excessive noise or artifacts.

Step 6: Making Local Adjustments
Lightroom’s Local Adjustment tools, such as the Graduated Filter, Radial Filter, and Adjustment Brush, are invaluable for selectively enhancing specific areas of the image. By precisely targeting and enhancing details, you can create the illusion of increased resolution. Experiment with these tools to refine important elements and add depth to your image.

Step 7: Correcting Lens Distortions
In Lightroom’s Lens Corrections panel, address any lens-related issues or distortions that may impact the image’s overall quality. Enable lens profile corrections and make necessary adjustments to eliminate visible distortions, vignetting, or chromatic aberrations.

Step 8: Exporting the Enhanced Image
Once you are satisfied with the image’s quality and resolution enhancements, it’s time to export the final result. In Lightroom’s Export dialog, select the desired resolution and file format that best suits your needs. Consider saving the image in a high-resolution format such as TIFF or PSD to preserve the enhanced quality.

Conclusion
With Adobe Photoshop’s arsenal of tools and techniques, transforming low-resolution images into high-resolution masterpieces is within reach. Edit picture online is here to help you with any type of photo retouch-up. By following this guide, you can enhance image quality, add missing details, reduce noise, and sharpen the visual output, ultimately breathing new life into your resolution captures. Remember, the key lies in striking a balance between upsampling, noise reduction, and sharpening, while leveraging Photoshop’s advanced features for optimal results. By utilizing Lightroom’s various tools and techniques, you can enhance overall image quality, apply targeted sharpening, make local adjustments, and correct lens-related issues.

So, get ready to unleash your creativity and elevate your visuals to new heights with the power of Photoshop and Lightroom!

